Advertisement


< Prev
Next >


Spring with a Java Array


In our last tutorial, we understood how to configure a collection of objects stored within a Map collection using Spring Framework. In this tutorial, we are going to explain how to configure a collection of objects stored within a simple Java array collection using the <array> tag of Spring Framework within its configuration XML file.


Creating the Java class - Company


We are going to create a java class named Company within the decodejava package and this class contains a String property named name and an array to contain Employee objects. Besides this, we are also going to define a couple of getter and setter methods within this class to set the array property of Employee type and the String property.


package decodejava;

import java.util.List;

public class Company 
{
 public String name;
 public Employee employeeArray[];
 
 
public String getName() 
{
	return name;
}


public void setName(String name) 
{
	this.name = name;
}


public Employee[] getEmployeeArray()
{
	return employeeArray;
}

public void setEmployees(Employee[] employeeArray)
{
	this.employeeArray = employeeArray;
}

}


Dependent Class containing a Company object - Employee


Next, we are going to add another Java class named Employee and it is going to contain a String property and a primitive int property.

The properties will be assigned a value by the Spring Container, when the Employee bean is created by it using the configuration xml file(to be created in the upcoming section).


package decodejava;

public class Employee 
{
	public String name;
	public int telNo;
	
	
	public String getName() 
	{
		return name;
	}
	
	public void setName(String name) 
	{
		this.name = name;
	}
	
	
	public int getTelNo() 
	{
		return telNo;
	}
	
	public void setTelNo(int telNo) 
	{
		this.telNo = telNo;
	}
	
}


Advertisement


Adding the Utility class that calls the Spring API


Next, we are going to create another class named - Utility, which is a simple java class.

Utility.java
package decodejava;

import java.util.List;

import org.springframework.context.ApplicationContext;
import org.springframework.context.support.FileSystemXmlApplicationContext;

public class Utility {

	public static void main(String[] args) 
	{
		ApplicationContext context = new FileSystemXmlApplicationContext("classpath:config.beans.xml");
		Company company = context.getBean(Company.class);
		Employee[] employeeArray = company.getEmployeeArray();
		
		for(Employee emp : employeeArray)
		{
			System.out.println("Employee Name : " + emp.getName());
			System.out.println("Employee Tel No : " + emp.getTelNo());
		}
			
	}
}


The Utility class uses the ApplicationContext container(an interface) of Spring Framework by creating its instance using its implemented class FileSystemXmlApplicationContext, which loads the configuration xml file - config.beans.xml and does the following -


Adding a configuration file


Next, we are going to add a configuration file to our project. This configuration document is an Extensible Markup Language(XML) file, ending with .xml extension and we are going to name file as config.beans.xml.

In this file, we have configured a Company bean with a unique id and it contains a collection of Employee beans.


config.beans.xml
<?xml version="1.0" encoding="utf-8"?>

<beans xmlns="http://www.springframework.org/schema/beans"
       xmlns:xsi="http://www.w3.org/2001/XMLSchema-instance"
       xmlns:util="springframework.org/schema/util"
       xmlns:context="http://www.springframework.org/schema/context"
       xsi:schemaLocation="http://www.springframework.org/schema/beans 
       http://www.springframework.org/schema/beans/spring-beans.xsd
       http://www.springframework.org/schema/context
       https://www.springframework.org/context/spring-context.xsd
       ">
           
<bean id="CompanyBean" class="decodejava.Company">
<property name="employees">
	<array>
			<bean class="decodejava.Employee">
			<property name="name" value="Emp1"></property>
			<property name="telNo" value="111111"></property>
			</bean>
			
			<bean class="decodejava.Employee">
			<property name="name" value="Emp2"></property>
			<property name="telNo" value="222222"></property>
			</bean>
			
			<bean class="decodejava.Employee">
			<property name="name" value="Emp3"></property>
			<property name="telNo" value="333333"></property>
			</bean>
	</array>
</property>
</bean>

</beans>


This mapping document has a parent <beans> tag as the root element and its individual child elements, each with a <bean> tag, containing all the attributes such as -


Adding JARs


  • We are going to add some JARs files to our Java project. These JARs are required in order to successfully execute a Spring project.

    All these JARs are included in the folder named libs(within our Spring installation folder). So, we need to add all the JARs in the libs folder to our build path of our Java project.

    Note : Those who don't know how to add JARs to the build path of your Java project in Eclipse IDE, please refer to our section Adding JARs to your Spring project in Eclipse.


Directory Structure of Project


The picture above depicts how and where to arrange POJO(.java) file and the other the class(that calls the hibernate into action) in a specific directory structure.

Project Folder - SpringWithArray is the name of our Project and it is a top-level directory.


Execution


Finally, after executing Utility class, you will get the following output within the Console window. This output shown below, shows how the Utility class has used the ApplicationContext container of Spring Framework to load the configuration xml file - config.beans.xml, access the beans specified in it, instantiate the Company class and Employee class, by calling their respective setter methods.


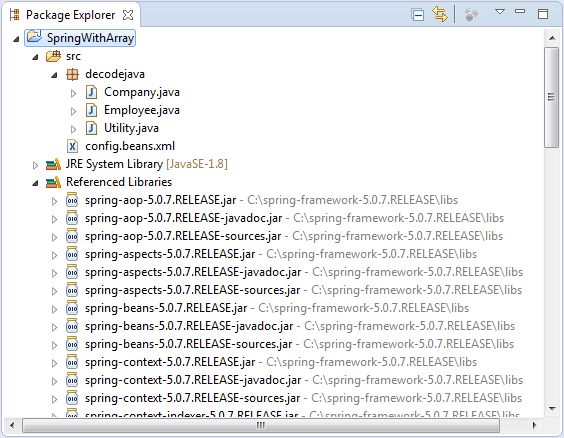
Jul 21, 2018 5:54:00 PM org.springframework.beans.factory.xml.XmlBeanDefinitionReader loadBeanDefinitions
INFO: Loading XML bean definitions from class path resource [config.beans.xml]
Employee Name : Emp1
Employee Tel No : 111111
Employee Name : Emp2
Employee Tel No : 222222
Employee Name : Emp3
Employee Tel No : 333333


And, this concludes configuring a Java array with the Spring Framework.


Please share this article -


< Prev
Next >
< Spring with Array
Spring with JDBC >


Advertisement

Please Subscribe

Please subscribe to our social media channels for daily updates.


Decodejava Facebook Page  DecodeJava Twitter Page Decodejava Google+ Page


Advertisement


Notifications


Please check our latest addition

C#, PYTHON and DJANGO


Advertisement